Now, with dataopsly, you can trigger jobs directly via Airbyte Cloud. Simply navigate to the scheduler section when creating jobs, select the Airbyte job option, and enter the required credentials.
Streamline your workflows and enhance efficiency with dataopsly's new Airbyte job integration.
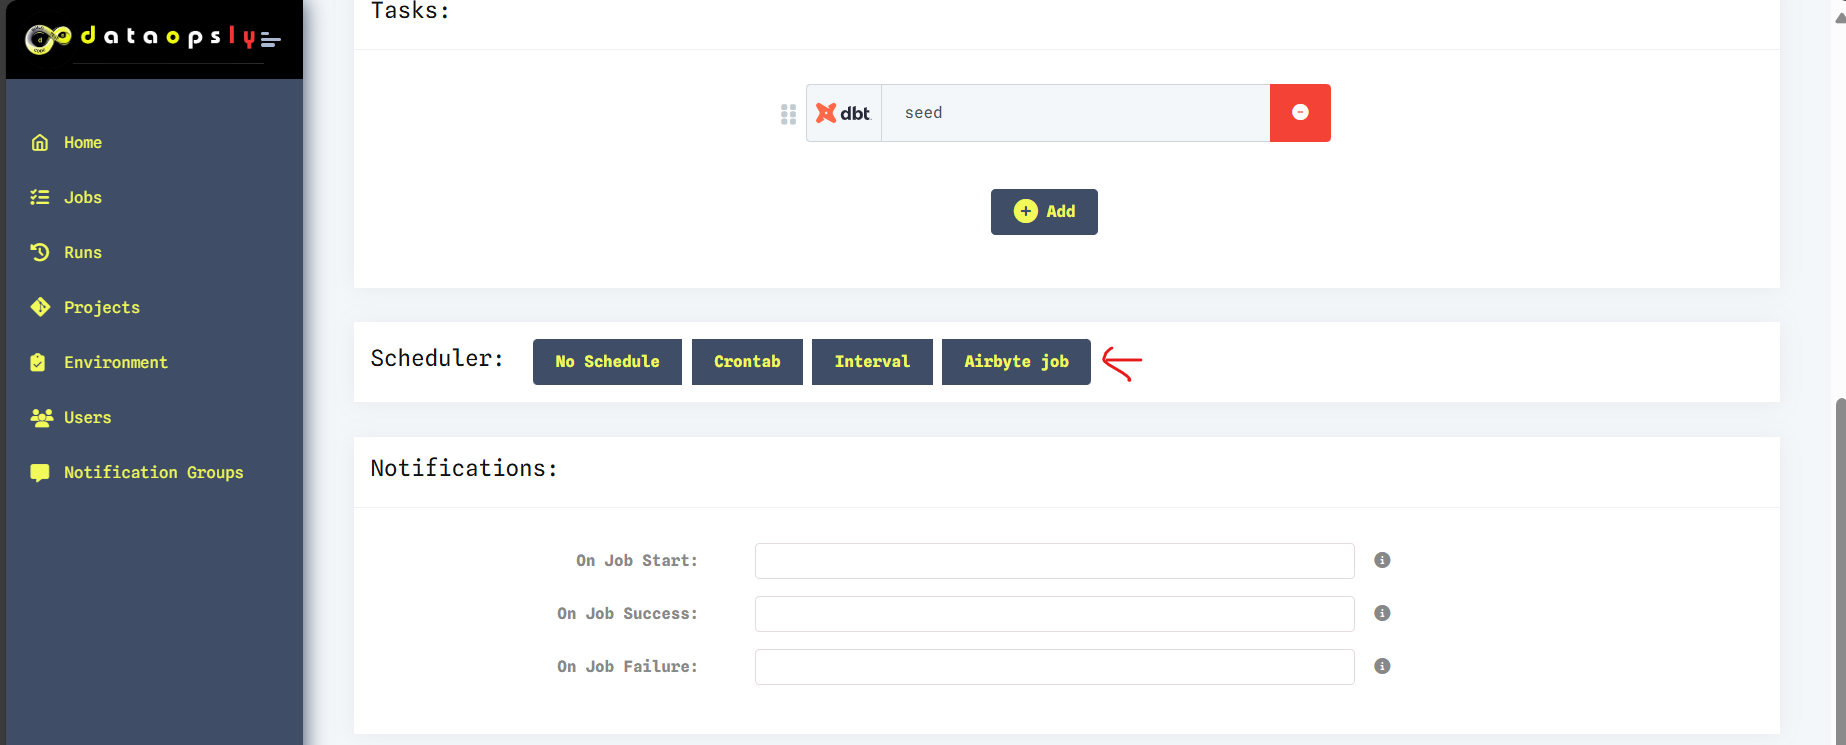
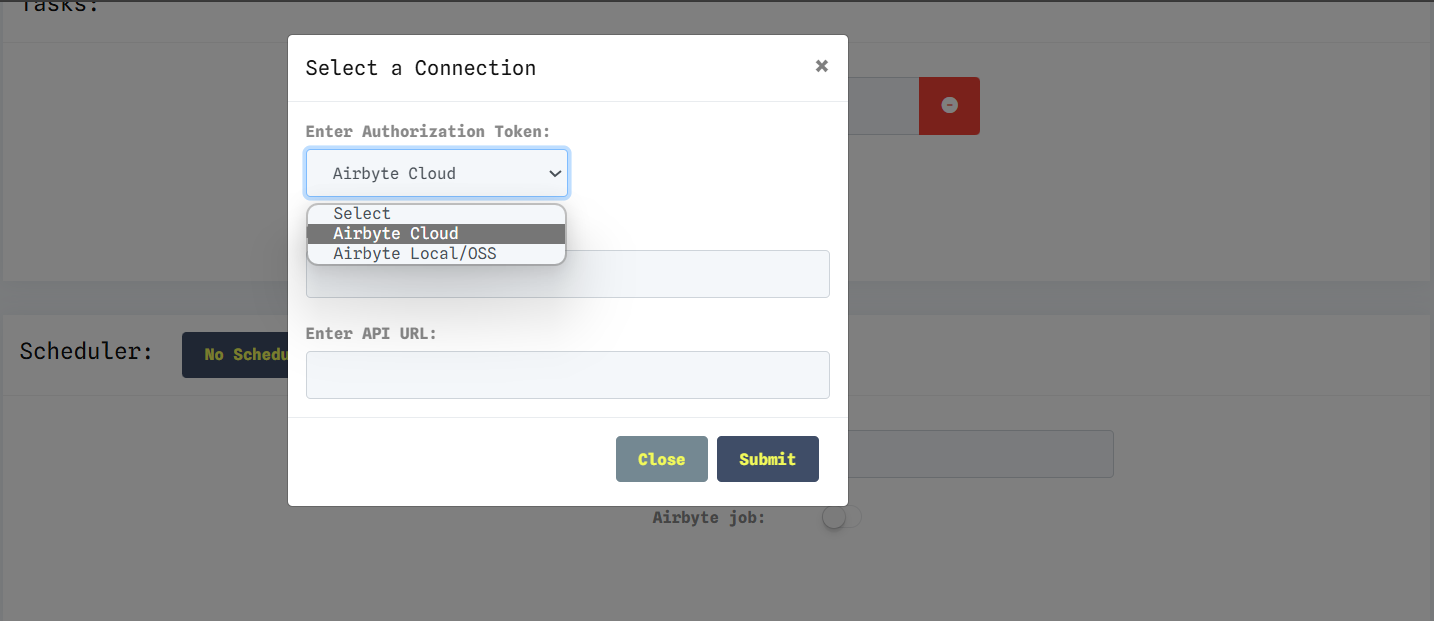
with respect to the generation of token, for cloud, firstly you need to have an enterprise account.
If you have one, go to setting > applications, create one, and then click on generate token.
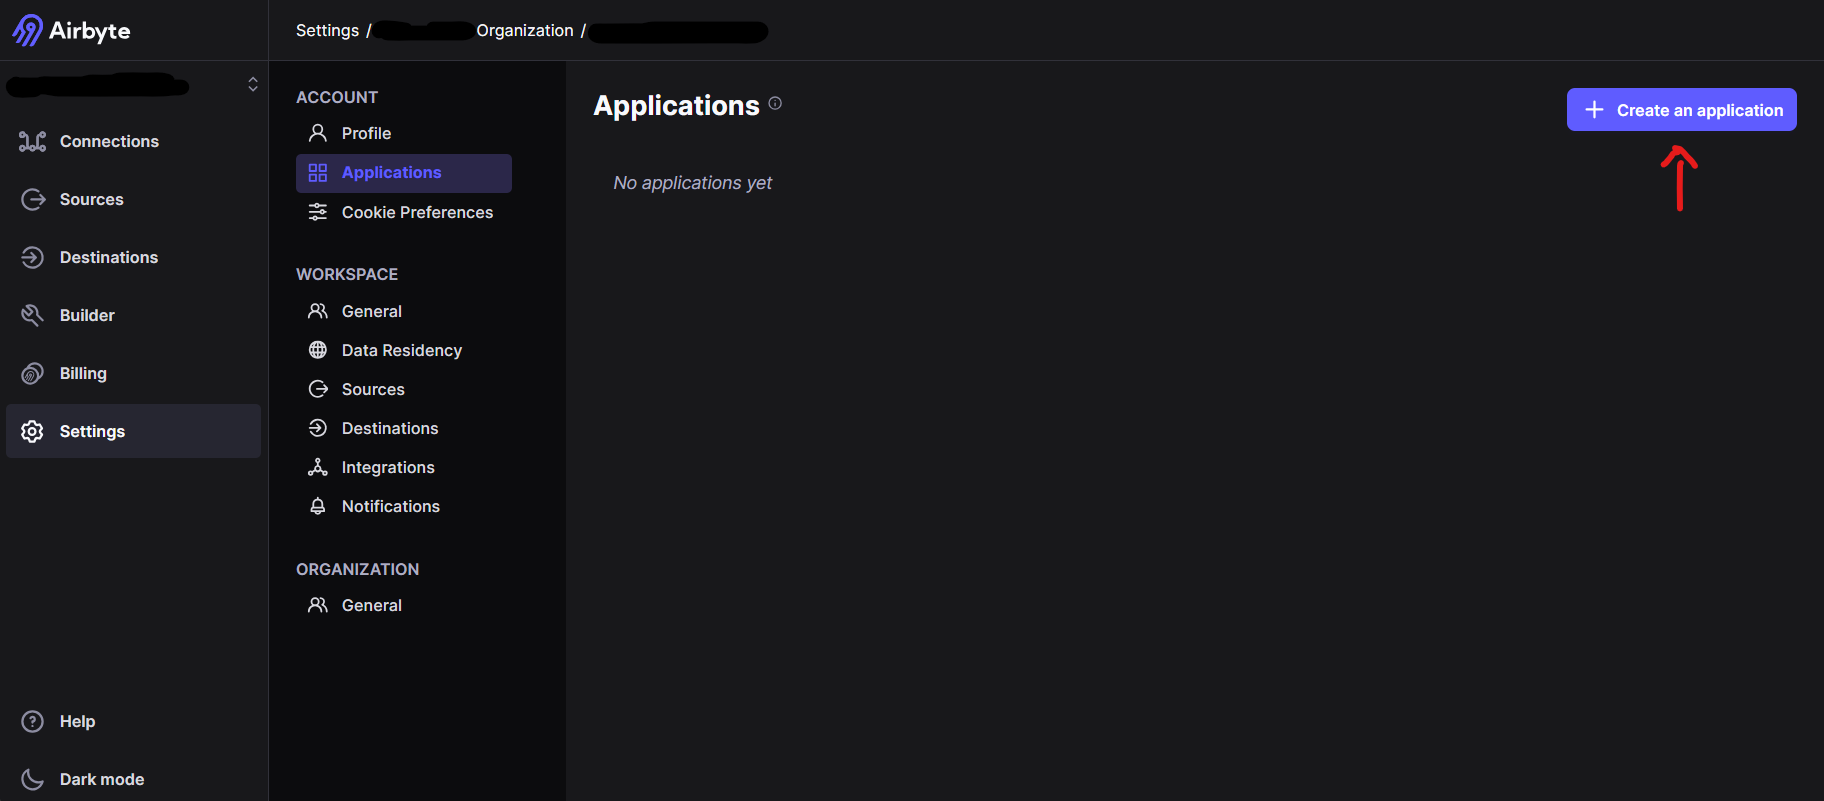
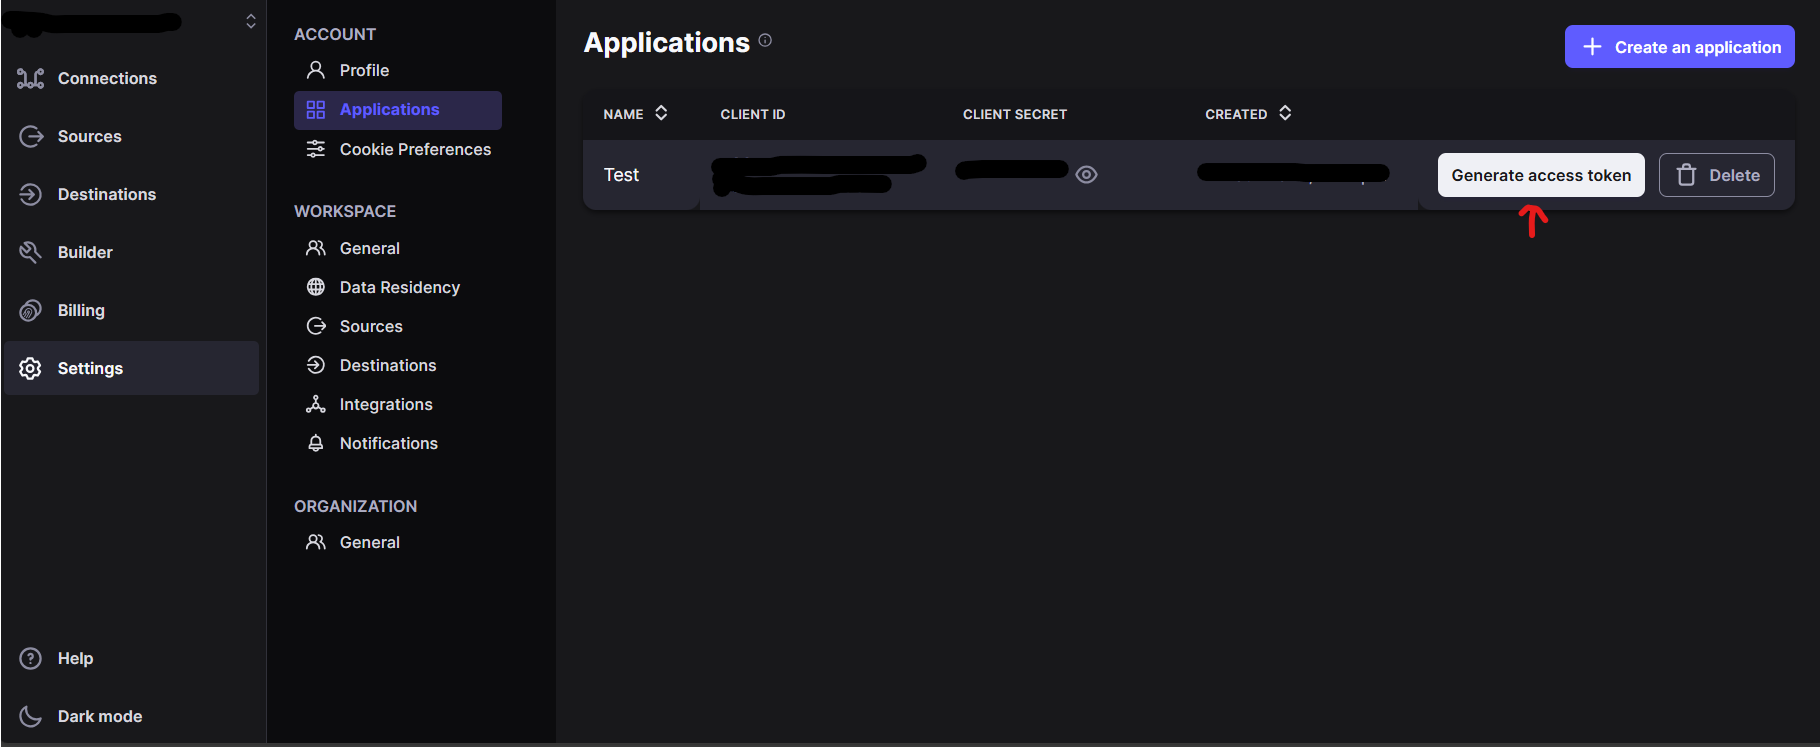
copy the token from there or else you can generate one from the API token by loggin in and creating the token by giving a name.
usually for airbyte cloud the url for API is https://api.airbyte.com/v1/connections
Add the webhook url of dataopsly in the airbyte.
Head to settings > notifications > switch on webhook > give the url http(s)://{your_respective_url}/airbyte/webhook/ and save the settings
Now, with dataopsly, you can trigger jobs directly via Airbyte Local/OSS. Simply navigate to the scheduler section when creating jobs, select the Airbyte job option, and enter the required credentials.
Streamline your workflows and enhance efficiency with dataopsly's new Airbyte job integration.

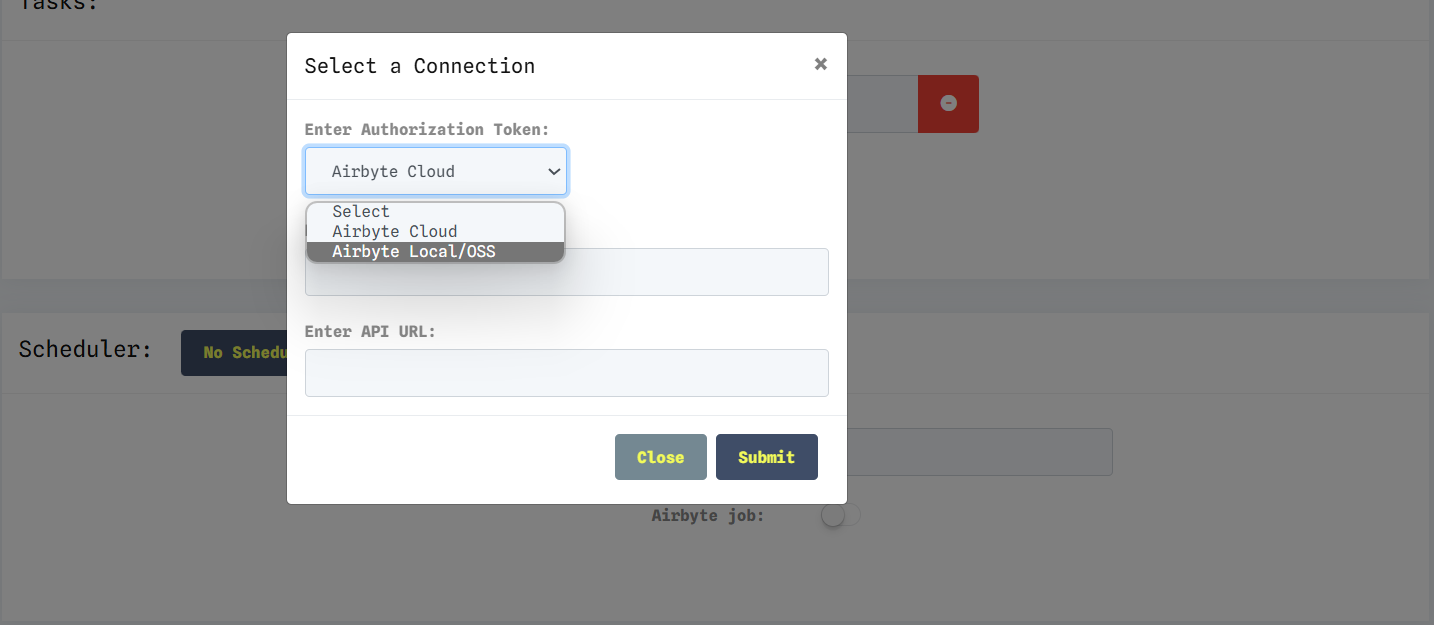
with respect to the generation of token, for local, we need to add the Base64 value of the username:password, so the default value will be:
if the username:password is
airbyte:
password
but if you have a different username and password, use this
to enter the username:password there in the text box and give convert and copy the Base64 value and paste it here in the token section.
for local the api url might vary, check with the website, as of the update source while updating this document, it is
/api/public/v1/workspaces/
but for the url, it cannot be accessed using localhost or 127.0.0.1, but we need to use port forwarding and use that link.
Add the webhook url of dataopsly in the airbyte.
Head to settings > notifications > switch on webhook > give the url http(s)://{your_respective_url}/airbyte/webhook/ and save the settings


